Monday, 29 December 2014
Friday, 19 December 2014
Casting eachother
We were asked to create some statue-like figures to be placed in part of the construction department.
This was our first time casting large parts of eachothers body, and turned out to be a good team building exercise.
We started casting eachother in positions linked to construction.
I even gave it a go myself.


After some deliberation we chose to look more closely at our topic area, which is folk art.
We decided to make some of the figures look like those from folk tales and old circus'.


Thursday, 18 December 2014
The mask
After creating the plaster cast of my face i began to add all of the features i wanted my latex mask to have
I added thin eyebrows, bigger lips and over- exaggerated, more defined cheekbones. I also added clay to the bridge of the nose to make it straighter and more masculine.
I sketched a couple of ideas of what i wanted my mask to look like which were inspired by Wilder Mann.
I started adding latex to my base and waited for it to dry before adding multiple layers to thicken it.
Wednesday, 17 December 2014
Face casting
We were told last week that we'd be making our own latex masks and today we started the process.
First step: creating a modrock base.
we had to first cover eachother faces with clingfilm so that we didnt have to endure the painful experience of having modrock stuck to our faces. i had the pleasure of sticking modrock to emma's face. It was quite fun although you had to work quickly to cover a large space.
put them all together and they looked like something out of a horror movie.
Step two: plaster
After the initial casts had set and we had placed modrock over the gaps in the noses, we poured a very thick ammount of plaster into them and shook them to make sure it got into every little bit.
This again turned out to look like something which belonged in a child's nightmare.
The next step once they are all dry is to add clay to the cast so that it can take form when they latex is applied.
Friday, 12 December 2014
Folk art characters inspired makeup
I started off with my Jaremy Aiello's inspired fawn makeup from the film "The Chronicles of Narnia" which he worked on.
I started with creating the 'eyebrows' of the fawn with eye shadows and eyeliners. I built up around this with cheek bones and contour around the face. The face came together when i added the liner on the eyes, rose and mouth and the white spots around the face
I drafted my idea first so i had some idea of what i was doing. I didn't do this for the fawn idea so i created it as i went. This made me a lot more organised the second time round.
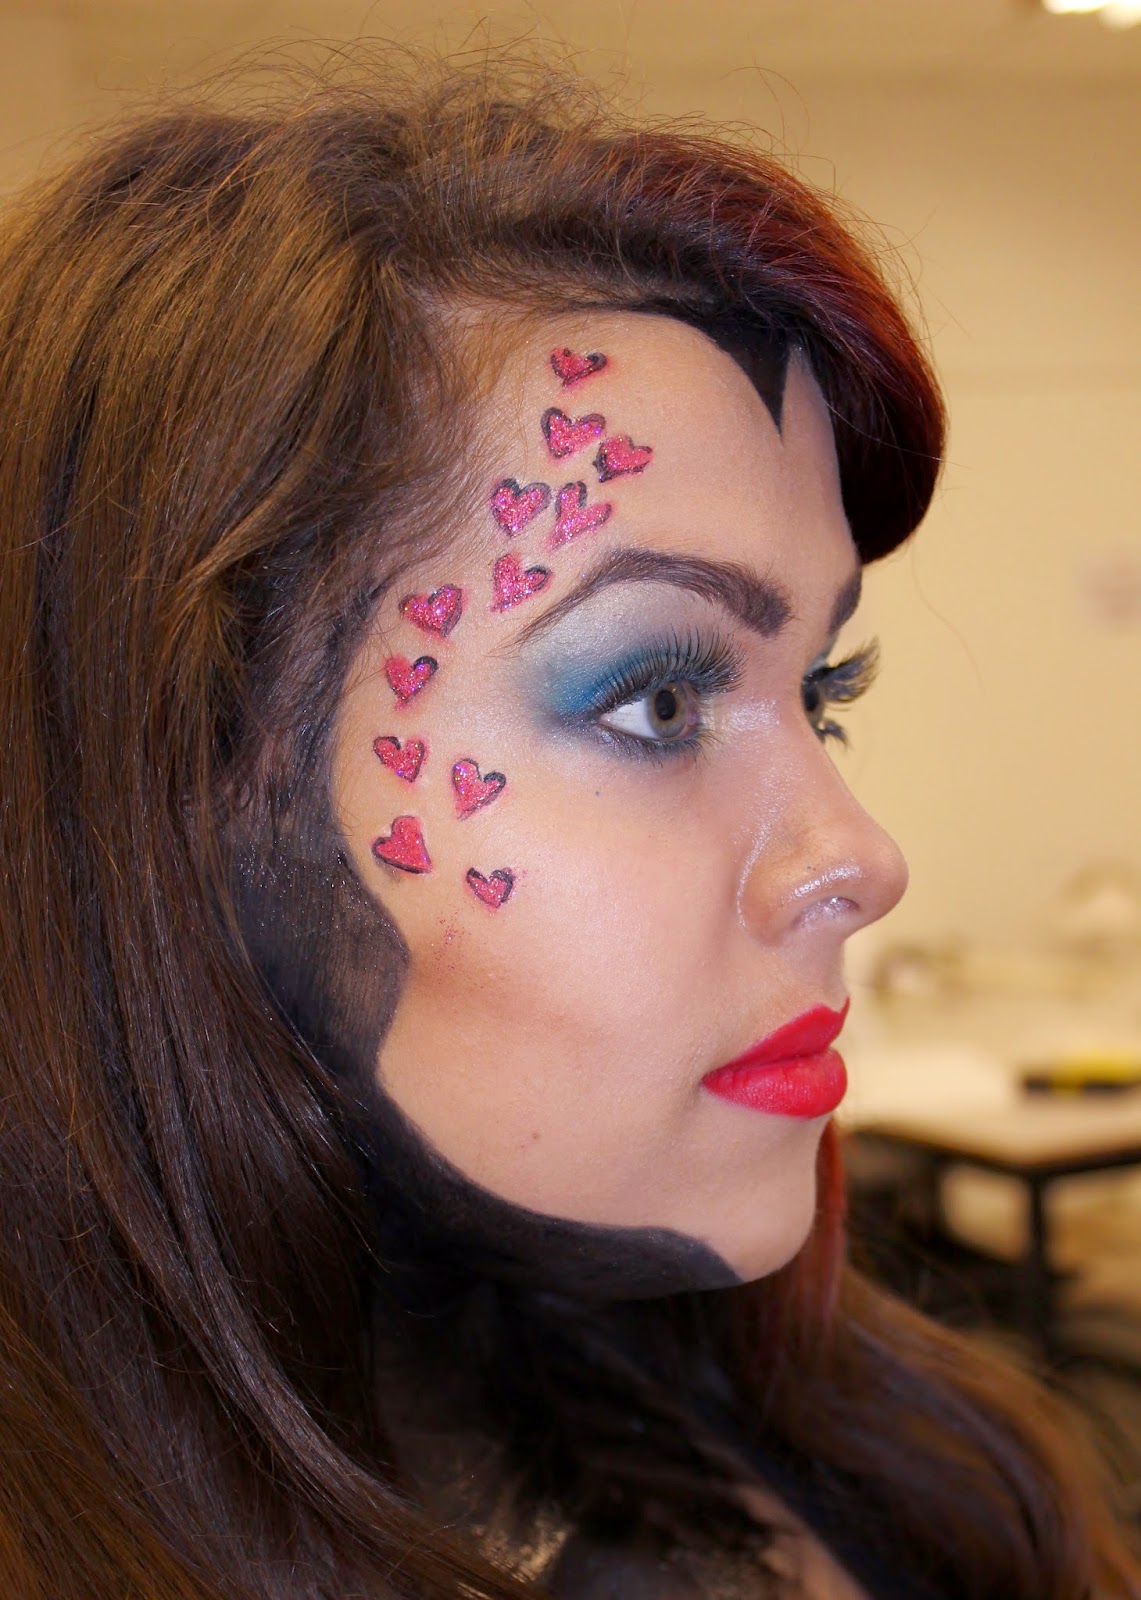
I lined the face with black eyeliner as i wanted to black-out some parts of the face and create a new jaw bone. I kept the same eye colour but changed it for a smokey eye instead of a block colour.
I outlined the hearts on the side of my face with a white eyeliner pencil before going over it with a red eyeliner and face glitter. i outlined the hearts with black liner to emphasize their shape.
Subscribe to:
Posts (Atom)